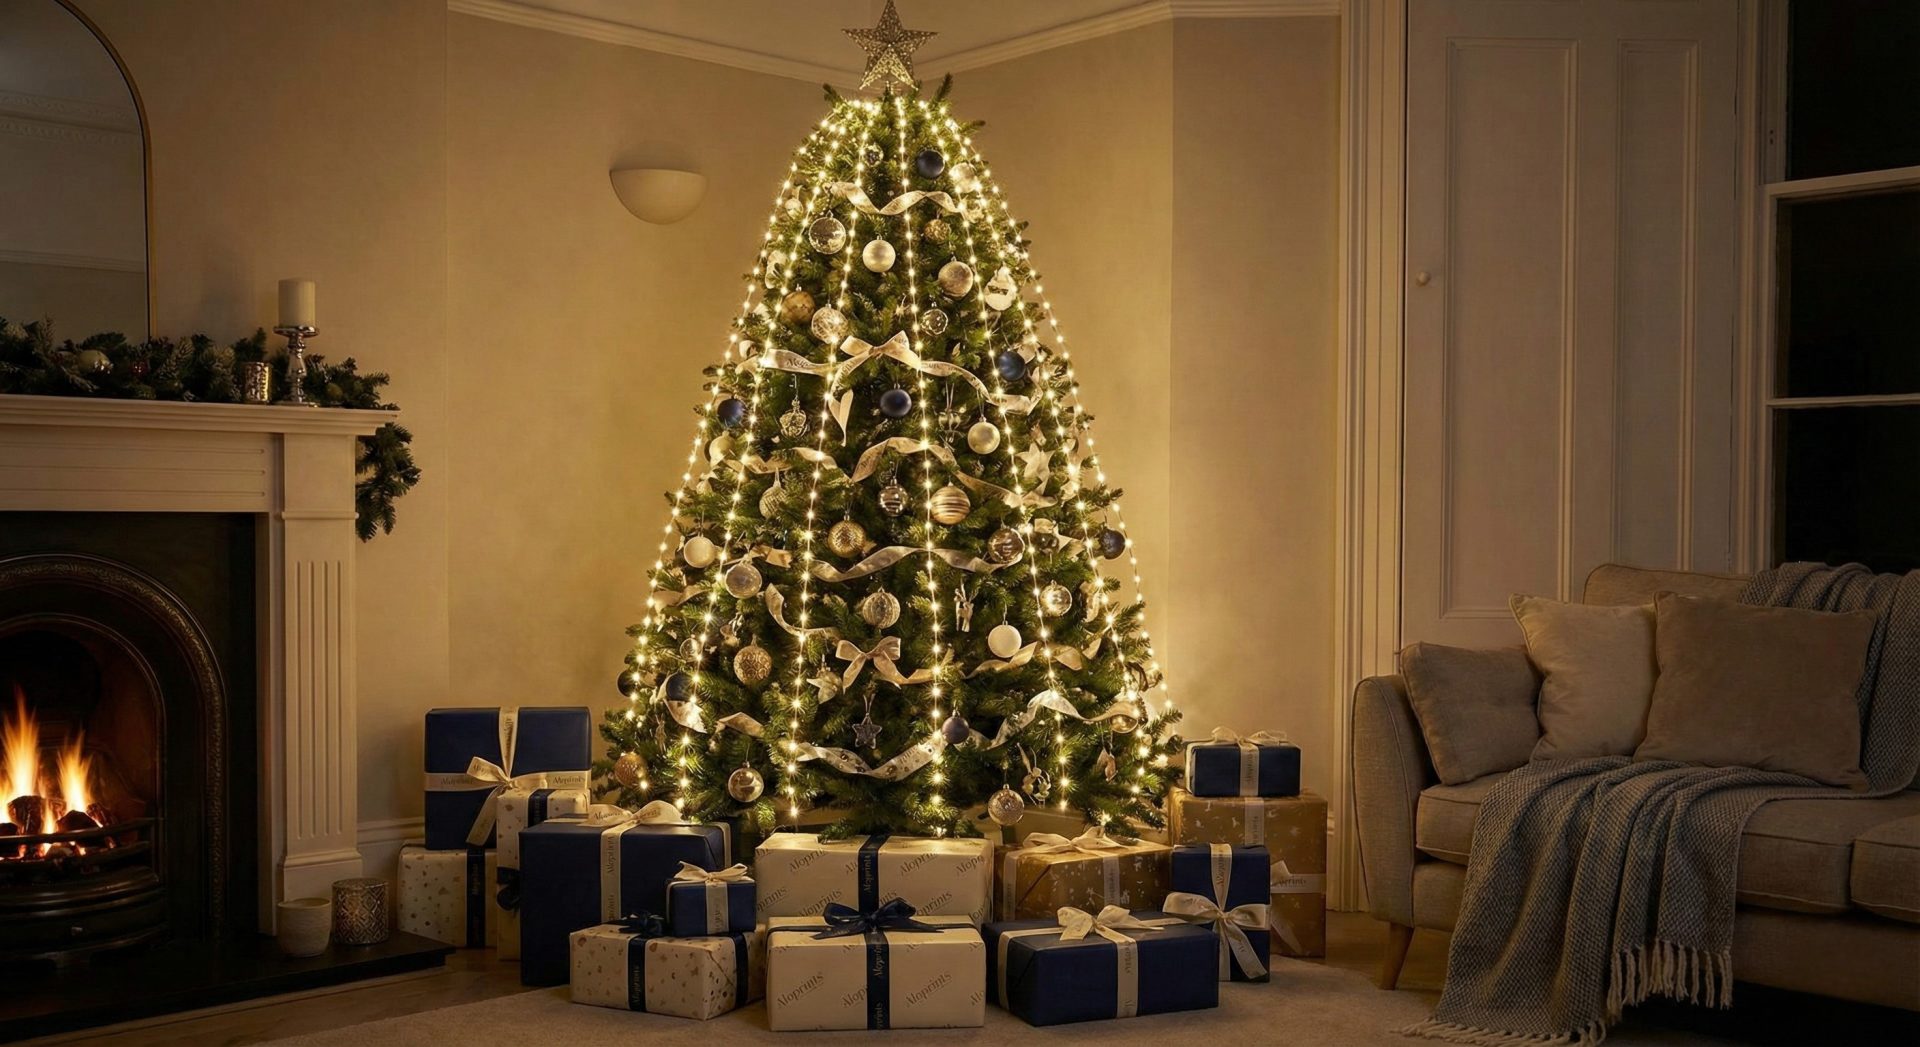
Another Christmas season is approaching! Are you still struggling with how to decorate your tree this year? Or perhaps you have your ornaments ready but aren’t sure how to string lights on a Xmas tree so that it looks professionally done?
Your Christmas tree—whether fake or real, flocked or natural—is the center of attention during the holidays. Properly hanging string lights is the secret ingredient that helps your tree truly sparkle. Let’s explore simple, effective ways to hang your lights with Aloprints!
1. What You’ll Need
Before we dive into the techniques, gather your supplies. To get that professional glow, you will need:
-
Christmas Lights: A good rule of thumb is to buy 100 lights for every vertical foot of the tree. However, feel free to add more for an extra-sparkling look or fewer for a minimalist vibe.
-
A Ladder: Essential for taller trees.
-
Green Floral Wire or Tape: To secure unruly strands.
-
An Extra Hand: Decorating is always faster (and more fun) with a partner.

2. Important Prep: Before You Start
To ensure the process goes smoothly and safely, keep these three tips in mind:
2.1. Make sure your lights are working
The first rule before you learn how to string lights on a Xmas tree is to test them. Nothing is worse than perfectly wrapping your tree only to discover a dead strand that you meant to throw away last year. Plug them all in to check before putting them on the tree.
Pro Tip: We recommend leaving the lights on while you work. This allows you to see exactly how they look on the branches and helps you spot dark patches immediately.
2.2. Check your power source
Safety first! Connecting too many strands can overload circuits. Ensure you are using a surge protector and, if necessary, a Ground Fault Circuit Interrupter (GFCI) device to protect against electrical shocks.
2.3. Track your connections
Don’t chain too many strings together. A general safety rule is to connect no more than 20 strands of 5mm LED bulbs back-to-back. If you have a massive tree, use a tri-tap connector (a splitter) at the base of the tree so you can run multiple separate lines of lights.
3. Method 1: The Horizontal Technique (Classic)
This is the most common instructions on how to decorate lights! It involves wrapping the lights around the tree like a Maypole.
Step 1: Untangle and Prep
Untangle your lights and wrap them into a loose coil over your arm. This makes them easy to feed onto the tree without tripping over cords.
Step 2: Start at the Base
Begin at the bottom of the tree. Weave the lights in a gentle “S” shape, moving horizontally around the tree.
-
Key Technique: Don’t just rest the lights on the tips of the branches. Weave them inside towards the trunk and then back out to the tips. This creates depth and makes the tree glow from within.
Step 3: Adjust and Add Ornaments
Work your way up to the top. Take regular steps back to look at the tree from a distance. If you see a dark spot, adjust the spacing now rather than waiting until the end.
Once your lights are perfectly placed, you have the perfect canvas to start hanging your unique ornament. The lights will make your decorations shine!

4. Method 2: The Vertical Technique (The Pro Hack)
Many professional decorators prefer stringing lights vertically. It is easier to remove later, and it often uses fewer bulbs to achieve a brighter effect.
Step 1: Divide the Tree
Mentally divide the tree into three vertical sections (triangular wedges). You will decorate one section at a time.
Step 2: The Upside-Down “V”
Start at the bottom of the tree and bring the string of lights straight up to the top, then bring it back down to the bottom in an upside-down “V” or triangle shape.
Step 3: Zigzag and Fill
Within that “V” section, weave the lights in and out of the branches in a zigzag motion. Push some lights into deeper branches to add more dimension. Once one vertical section is done, move to the right and repeat the process.
5. Other Ways to String Lights
Looking for a different aesthetic? Try these variations:
5.1. Branch Wrapping (The Brightest Option)
Wrapping individual branches takes the most time, but it produces the brightest tree.
-
Start at the bottom and wrap the light strand around every individual branch, moving from the trunk to the tip and back.
-
This packs the tree with light but requires significantly more strands.
5.2. The Spiral
This method is ideal if you want the lights to be very secure. Start at the top (ensure the plug end is near the outlet or run an extension cord up the trunk). Spiral down and around the tree, keeping the rows about 3 inches apart.

Summary
Whether you choose the classic horizontal wrap or the professional vertical technique, the most important part is to have fun and stay safe. We hope this guide helps your home sparkle this season.
If you are looking for the perfect finishing touches, don’t forget to check out the unique collection at Aloprints! Happy decorating!


